Thursday, May 31, 2012

Thrifty Thursday #19

     I had a great time on my thrifty rounds this week. I happen to pass by four thrift stores every day on my way to pick up my younger son from school. Because I home-school  my other son  (we do online school), I don't always have time to stop and shop. I do try to swing in once a week though. This week it was definetly worth my time!
I found this wooden bowl with beautiful painted detail for $1. I'm not sure what I'll use it for- probably to organize- but I sure couldn't pass it up.
This plate was calling to me because it matches. . .
these two bowls that I found in a thrift store in a different town last month!! Can you believe that? (It's just the little things that make me happy, Folks!:)


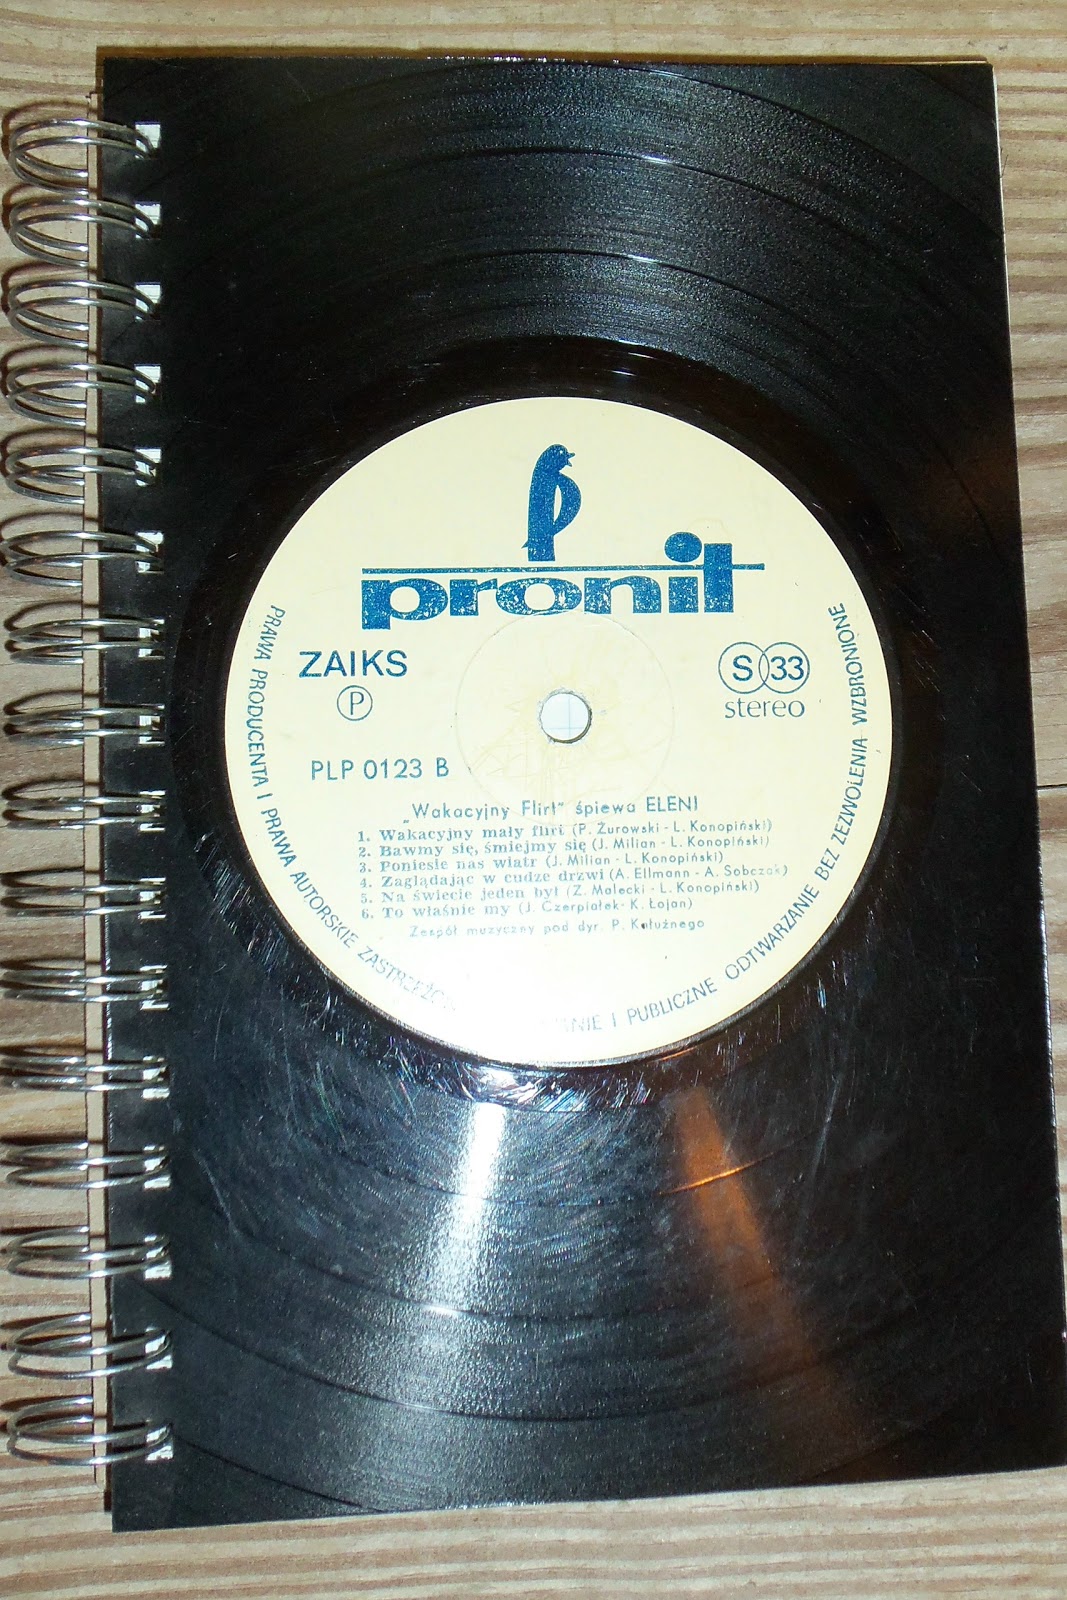
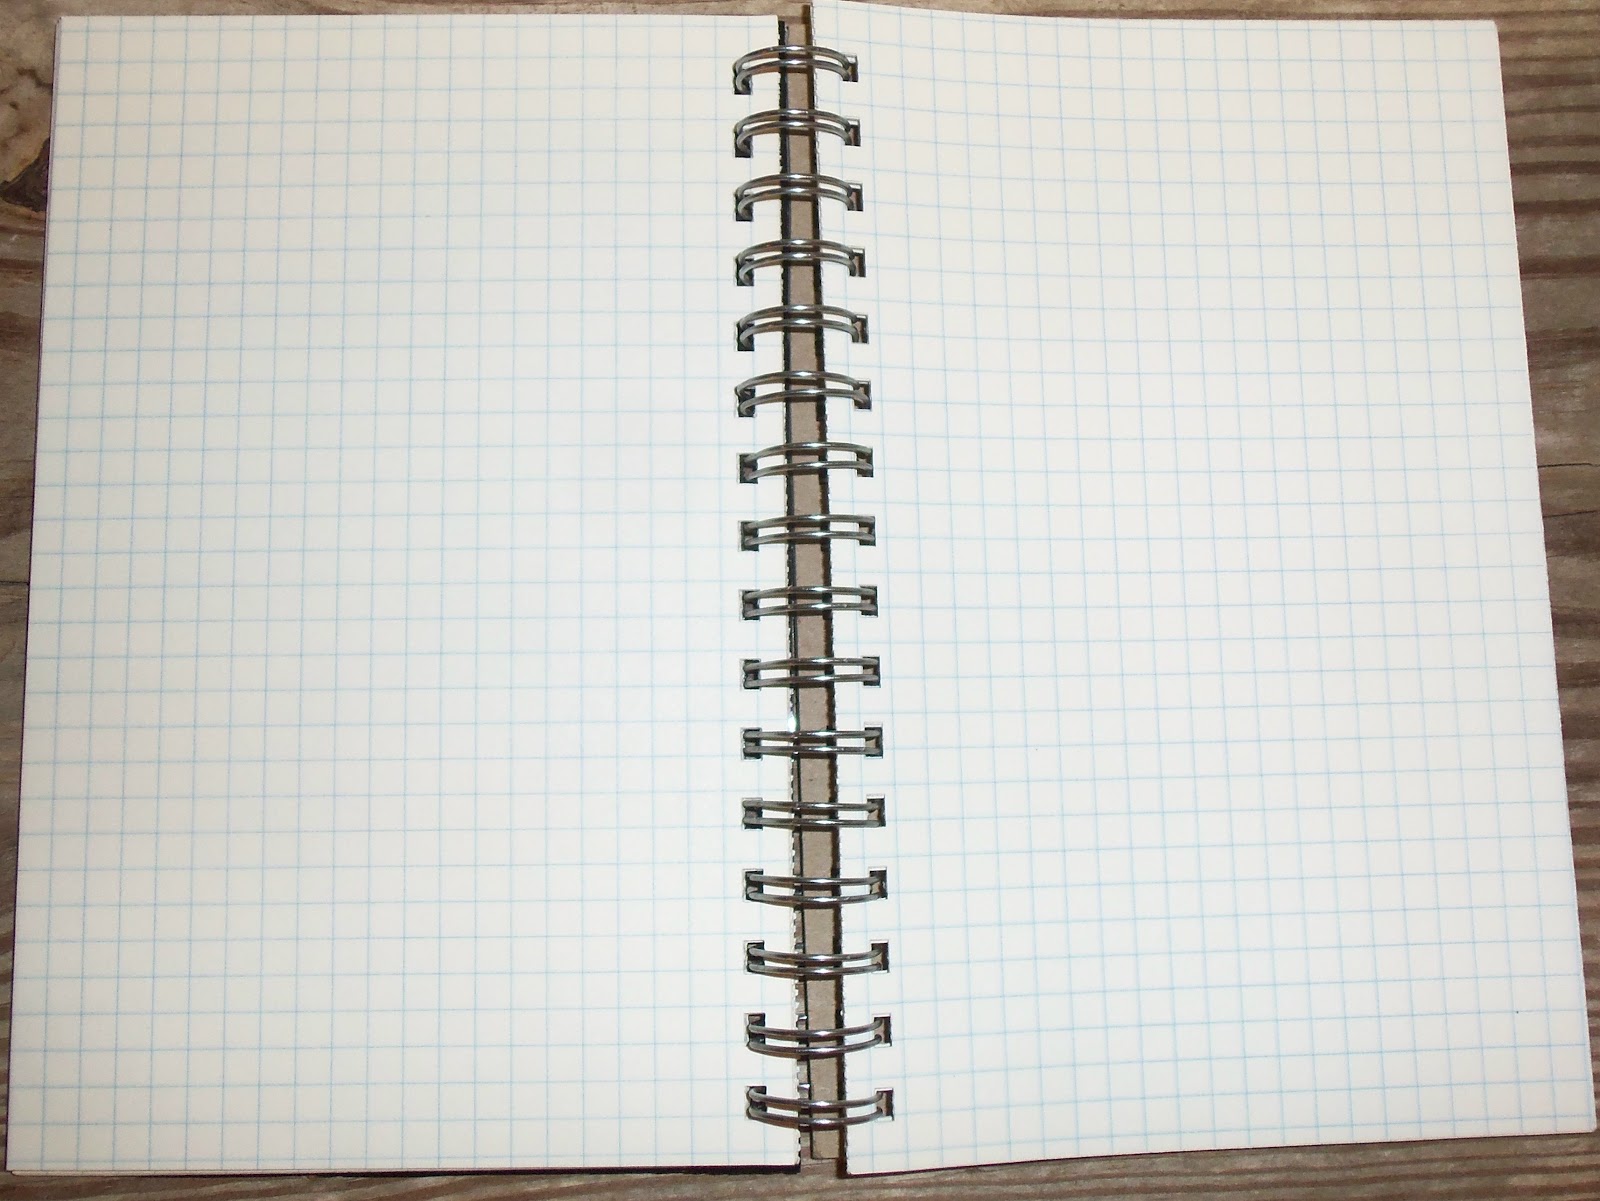
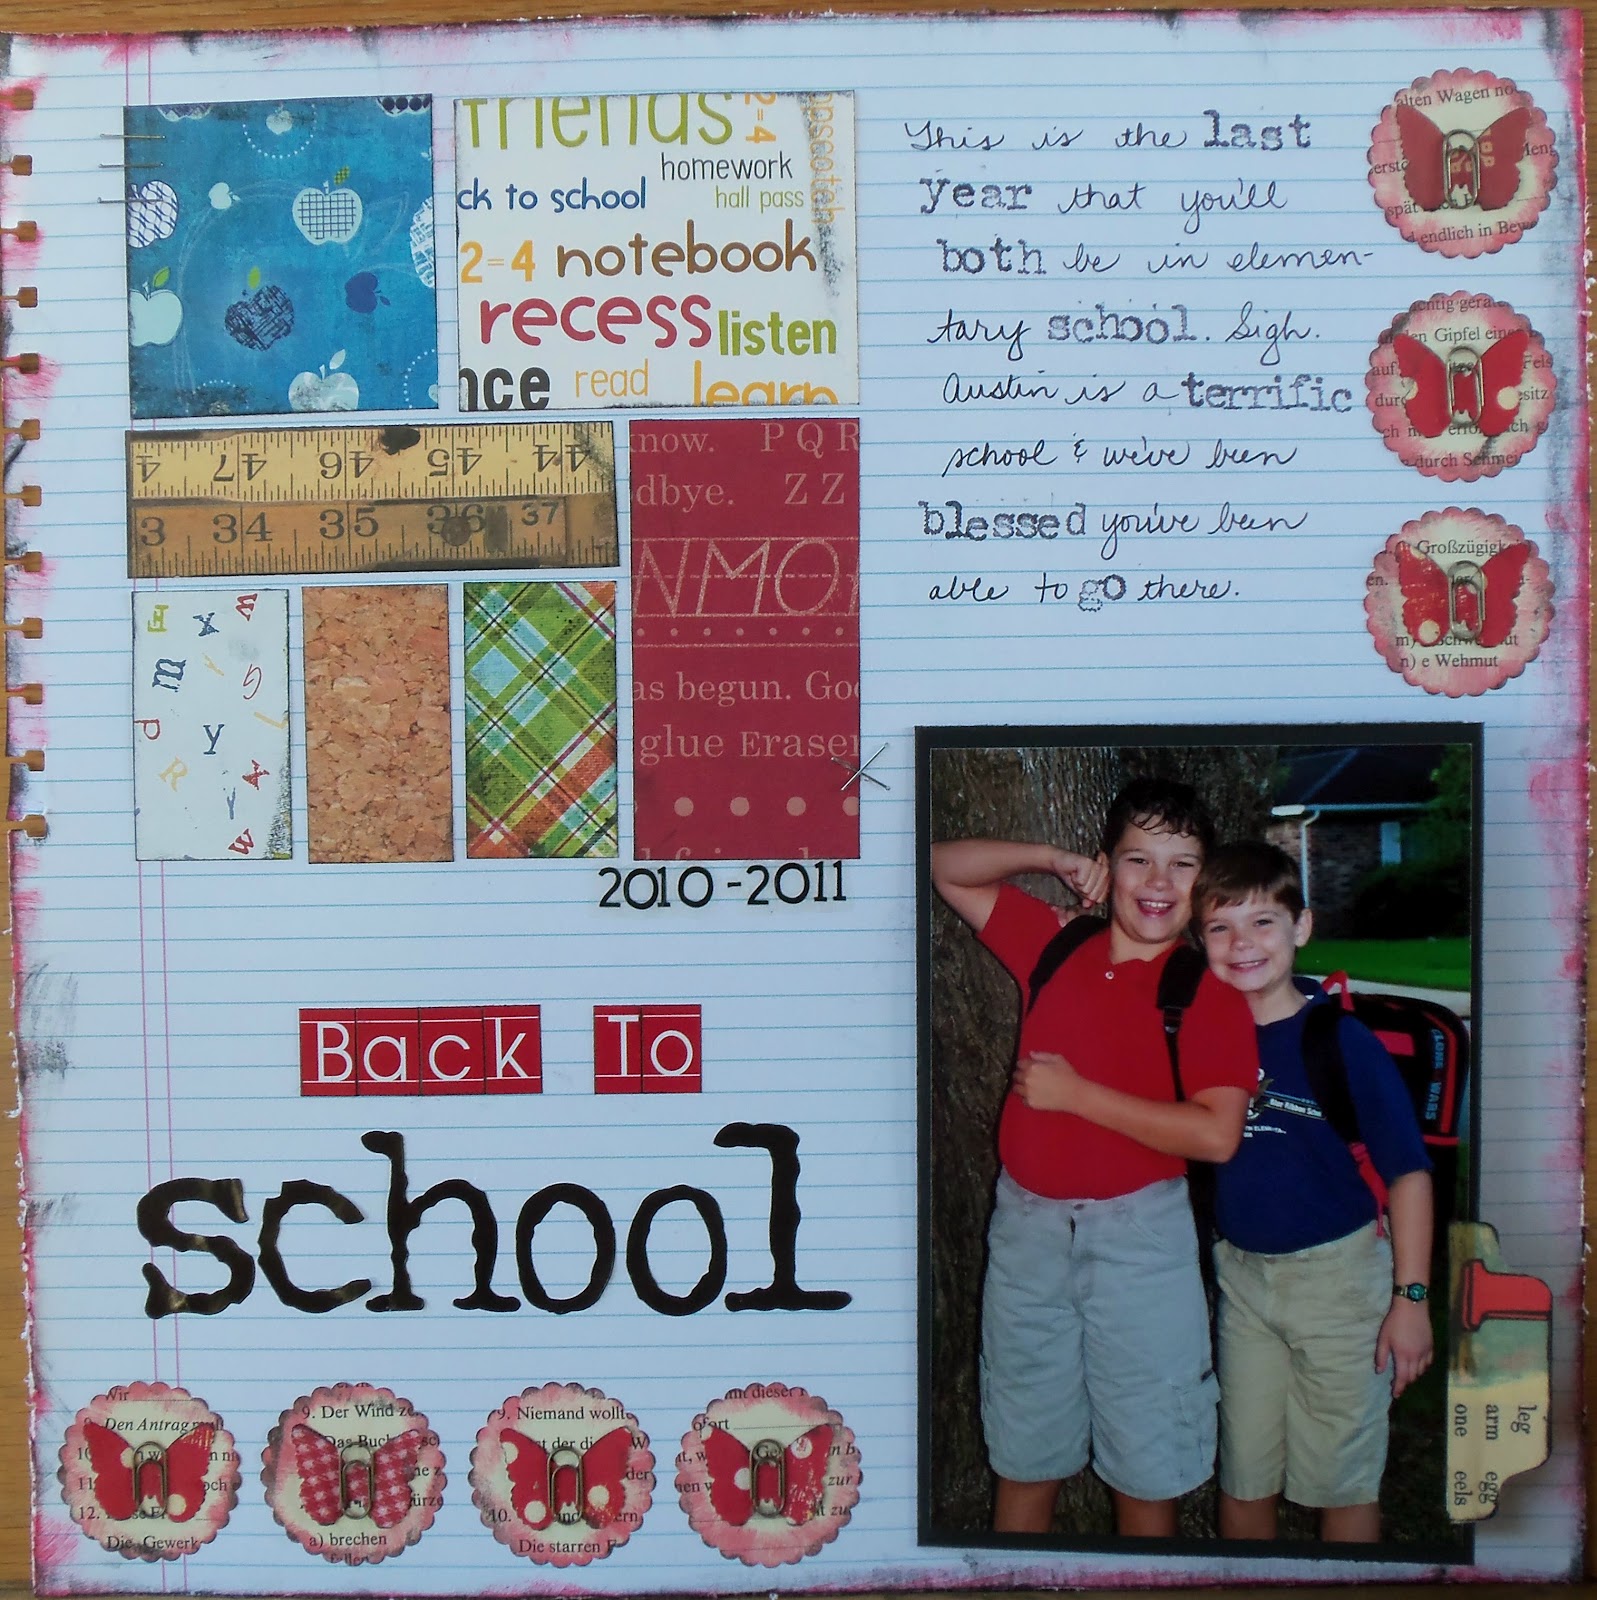
I also found two more old text books from the fifties. You'll notice the one on the right I featured last week after I turned it into a journal/scrapbook. The one on the left will probably have the same fate.


I got all four of the books in this post for fifty cents each- but when I saw this one, I just wanted to cheer. I love the graphic on the cover and the writing is amazing- the author used his "country" dialect to give tips on living in the wild . This book is too precious to be turned into a scrapbook- I actually gave it to my husband who LOVES it. He started reading it right away.


This final book caught my eye as I was waiting to pay. I thought the cover was very unique. Imagine my surprise when I started flipping through it and saw. . .


that it is written in DUTCH!! My, oh my!


I found this dinner size plate for fifty cents at another thrift store. I love pretty plates and saucers- I love my eclectic mismatched collection!

I also found this film canister- it doesn't feel heavy enough to be old, so I thought that it would be cool to wrap a gift in it. Notice the price written on the front. Nice.


I've been eyeing this book for awhile. It was priced at $4, so I kept passing on it. For some reason, on this visit, it was reduced to $1. I have a friend who's last name is Peppers and I thought she would like it. I'm actually planning to turn it into a scrapbook before I give it to her.
     Thank you all for stopping by and God bless.
     This post is linked to Happy Hour ProjectsGet Outta My Head,  and


It's OVerflowing
 

Wednesday, May 30, 2012

Layout of the Week #15- Using Old Book Pages

     Hi Everybody! This week I decided to do a layout using old book pages- probably because I've got so many laying around from the books I've been cutting up to make these journals.
     Here are step-by-step instructions if you'd like to make a layout. Feel free to substitute another type of paper for the book pages if you'd prefer.

Here's what you'll need:
one piece of cardstock (the color doesn't matter because we'll be covering it up)
few pages from an old book
letter stickers for title
3-4 pieces of coordinating pattern paper (scraps are fine as we'll just be using small pieces)
journaling card
adhesive
trimmer

First, cut the book pages into 16- 3"x3" squares. Ink the edges if you'd like.
When you adhere them, alternate the direction that the text is facing.

Add your photos. I used a 4"x6" photo at the top left corner and placed a slightly smaller one right next to it. I placed another 4"x6" photo near the center at the bottom. I placed two photos small photos in the bottom right corner. You could also place two 4"x6" photos in the upper left corner and in the bottom right corner.

Now take your pattern paper and cut three strips each a different length and layer them on the upper right corner. Take another three strips and layer them in the bottom right corner. Then place your title under the strips in the upper right corner.

Finally, add your journaling to the lower left corner. Voila! You've made a layout using old book pages:)

Here's a second example. I used an index page from an old encyclopedia with the word "Snake" on it to go with my layout.

     Thanks for stopping by and God bless.
      This post is linked to Shabby Creek Cottage and 52 Mantles


Tuesday, May 29, 2012

Recipe of the Week #19-Lemonies

I originally found this recipe on Pinterest-these treats were called lemon brownies, but I feel that's misleading because they're not brownies. We call them lemon-ies at my house.

Lemon-ies
3/4 C flour
3/4 C sugar
1/4 t salt
1 stick butter, soft
2 eggs
juice from 1/2 lemon (about 1T)
zest from 1/2 lemon (about 1t)

Combine the flour, sugar and salt in a large bowl. Mix in the softened butter.
In another bowl, whisk the eggs with the lemon juice and zest. Add to the larger bowl and mix well.
Pour into prepared 8" x 8" brownie pan. Bake at 350 for 25 minutes.
You can double the recipe and bake in a 9"x 13" pan for 30 minutes.
Remove and let cool, then glaze.

Glaze
1/2C powdered sugar
1 T lemon juice
additional lemon zest
Stir together and pour over bars.

Note: I used lemon extract in place of the lemon zest.

Thanks for stopping by and God bless.


Monday, May 28, 2012

Notebooks Made from Vinyl Records

     I hope everybody had a nice and relaxing Memorial Day. I would like to thank all those who have served our great country.

     My hubby took our boys to see a movie today, so I used the quiet time to try to clean up my craft space. I was hoping I could make some progress in an hour, but it wound up taking me three. I do have to say that it was worth the time; I now have some table space to work on!
     While I was cleaning, I found this project that I started, but hadn't finished,so I took a few minutes to complete it so I could share it with you guys. It's a notebook with a vinyl record for a cover.


I cut a piece of chipboard for the back cover to 5 1/2"x 8", trimmed some graph paper (used a regular paper trimmer on the graph paper and chipboard cover), then cut my record to the right size (using a box cutter, ruler, and lot's of muscle. Important: place something beneath the record such as a cutting board as you don't cut your table. Also, it will take many swipes with the blade before the record cuts.). For the first one, I bound it with my Bind-It-All.

This is what the inside looks like. I chose graph paper because I thought it would make a unique notebook.

For the second one, I wanted to show you another way to bind it just in case you don't have a Bind-It-All and want to make a notebook like this. I used my Crop-A-Dile to punch the holes in the record and inside pages, then used office rings to bind it.

I think I like this one better.
You could also use the album cover and trim it for the notebook cover- or use it as the back cover with a record as the front cover. This option allows you to add or remove pages.
As you may have guessed, I got the records, the graph paper, and even my Crop-A-Dile at the thrift store!


On another note, we went fishing on Saturday and my oldest son, Sam, caught this monster bass. He was so tickled. He wasn't looking forward to going, so I'm glad he caught the first (and biggest) fish of the night.

This little ball of trouble is my younger son, Ethan. He LOVES to go fishing. He has quite a competitive nature and takes his fishing very seriously. I love watching him reel a fish in- he gets so excited!

     Thank you all for stopping by and God bless.

     This post is linked to Brassy Apple, My Girlish Whims, and Craft-O-Maniac.


Today's Creative Blog
 

Friday, May 25, 2012

On My Craft Table Now

     There are a few things that I've finished this week that I'd like to show you- my new favorite project to make is a scrapbook with a cover made from an old book.
I made this for a gift for a co-worker who's moving away.

This is the first page- it's some beautiful paper from 7Gypsies.

This second page is a piece of old ledger paper.

I almost always add a paint chip to my mini albums!

This is an office envelope covered with some more of that lovely 7Gypsies paper.
I put about 16-17 pages in her album- every page is a different type of paper. I tried to include several envelopes for extra storage space. I bound the book with rings so the pages can be rearranged or more pages can be added.

This is another album I made for my neighbor as a graduation gift. She was so pleased with it!

    I would love to hear about some albums you all have made. Please leave a link in the comments to share.
     Thanks so much for stopping by and God bless.
     This post is linked to My Repurposed Life, The Answer Is ChocolateIt's Overflowing, Inspired By Charm, Making the World Cuter and
 shabby creek cottage


Funky Junk's Sat Nite Special


Too Much Time On My Hands


I Heart Nap Time


Thursday, May 24, 2012

Thrifty Thursday #18

     My hubby and I got up early and went to a few yard sales this weekend before we had to take the boys to football practice. I love that he likes to come with me.
     There were two churches having big sales-one of them advertised a basketball goal. We've been on the lookout for one since ours got broken. Imagine my surprise when we got there and I saw that the church was referring to their three foot Fisher Price basketball goal! I don't think my boys would have been amused with that! But I did find other treasures. . .
I got these two beauties for fifty cents each. They're dinner plate size- I usually only find saucers.

I found this big guy for fifty cents. I had gotten another nice sized jar for a quarter, but when I was trying to take a picture of it, I dropped it and it shattered all over the floor. Nuts.

I never pass up a good frame that's priced right. This guy is going to get painted and I'll put chickenwire in place of the picture.

This quilting hoop was $4. I don't quilt, but I'm thinking I can do something with this mega sized hoop!

It's finds like these that keep my hubby coming with me. He was thrilled to get three Coleman lanterns for $2 apiece!
     Thanks for stopping by and God bless.
     This post is linked to At The Picket Fence and Embracing Change.


Wednesday, May 23, 2012

Layout of the Week #14- Using Notebook Paper in Scrapbooking

     Hi Guys! Being frugal and a huge fan of office supplies, I often use them in ways other than they were intended. Today I'm using plain old notebook paper in our Layout of the Week.

Supplies needed:
one piece of 12"x12" card stock
3-8 pieces of pattern paper (scraps are ok- we'll cut them into 3 3/4" squares)
letter stickers for title (I used a pre-printed title)
one piece of notebook paper (not pictured)
trimmer
adhesive
photos

First, we're going to cut 8 squares from the pattern paper. You can have each square a different pattern or repeat the patterns like I did. I chose football themed papers, but you could use multi-color, monochromatic, school themed, or anything other theme.
Each square should be 3 3/4"x 3 3/4". The middle space will remain blank because it will be covered in the next step.
Adhere the squares evenly around the edge of the card stock.

Now place your notebook paper in the center. It will act as a mat for our photos and journaling. I cut about 1/4" off the right side and the bottom of mine. You can use a sheet of loose leaf paper if you don't like the raggedy notebook edge.

Next, place your photos along the right edge of the paper. I was able to trim four of my photos around the action. You could use two or three horizontal 4"x6" photos or 1 vertical 5"x7" photo if you'd rather.

Put the title about 3/4 of the way down on the right side of the paper. It can overlap the side of the notebook paper and/or a photo.

Now place your journaling above the title. I incorporated my title into the last line of my journaling. For embellishments, all I did was add a couple of sports themed word stickers to two of the photos. You're done! How much fun is notebook paper?:)

For this layout, I used a sheet of 12"x12" scrapbook paper that looks like notebook paper. On the left edge, I used a notebook edge punch.

I made the photo mat into a folder so it could open up and display two more photos.


     I had everything ready for this post-I just needed the time to write it. It would have been out sooner, but today my son and I were learning how to balance chemical equations. He's in 6th grade. I don't recall learning this EVER! We're doing online school and luckily they had a link to a website that helped us figure it out. Yowza!
     Thanks for stopping by and God bless.
     This post is linked to My Girlish Whims, Happy Hour Projects, and Five Days Five Ways


The Crafted Sparrow